

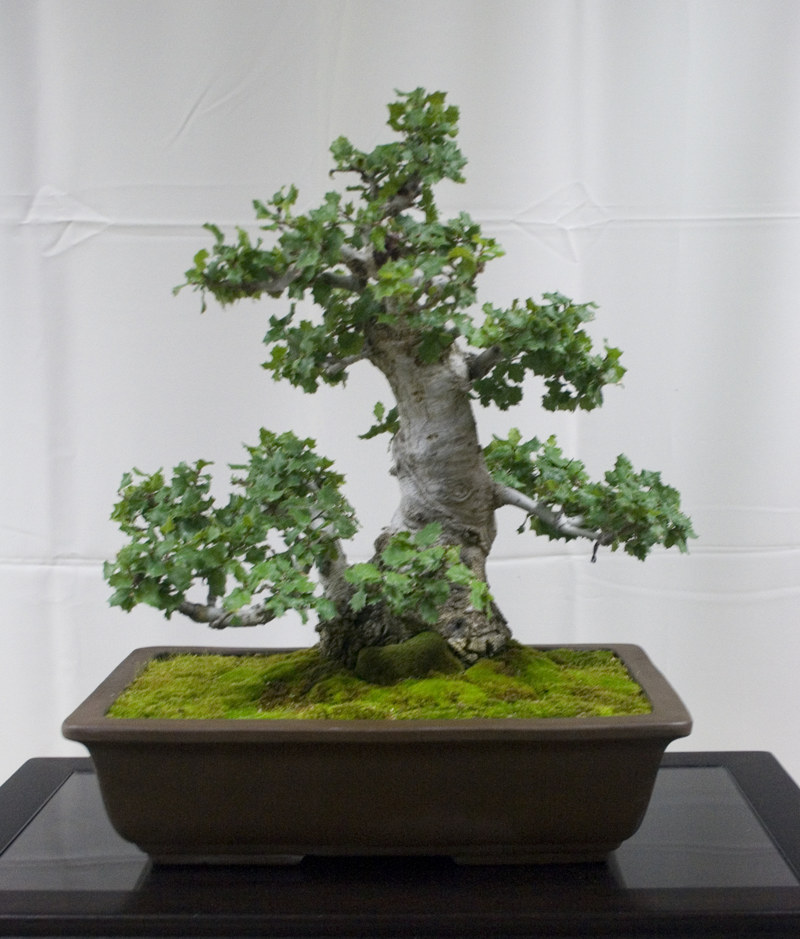
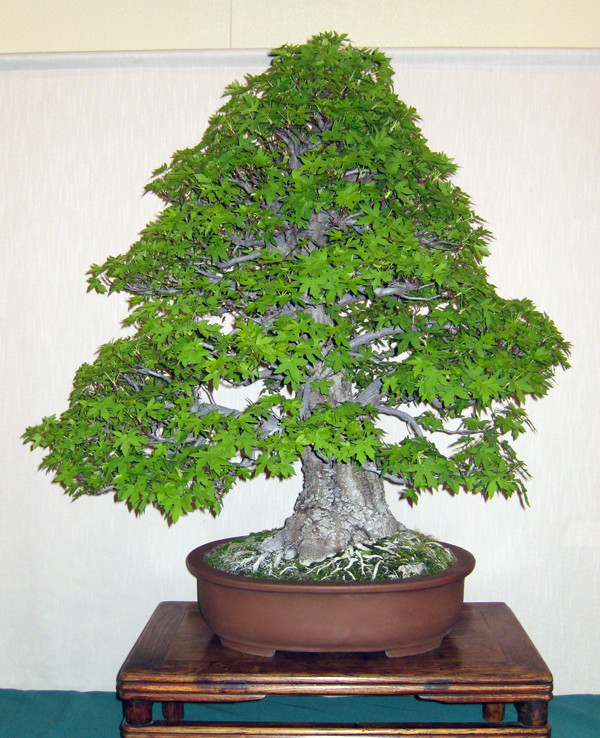
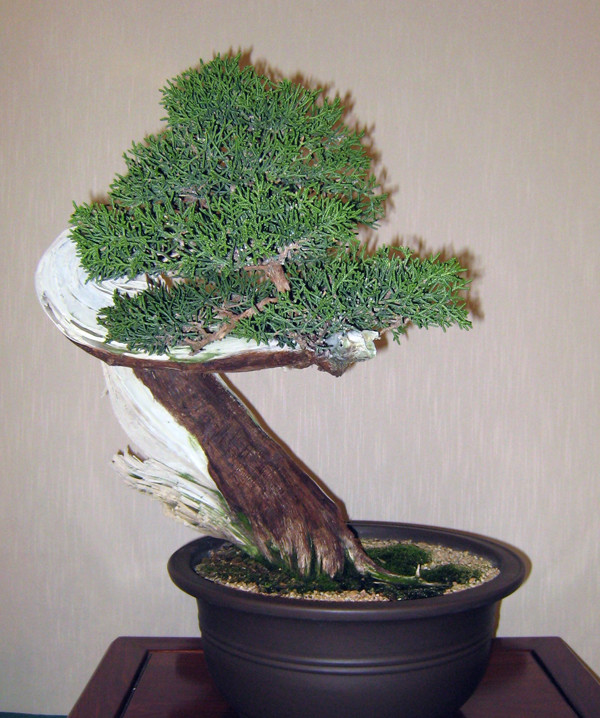
Bonsai Wiring Basics
The most commonly used shaping method in bonsai is wiring. It is important to understand the basics of wiring to get the best results possible. There is a fantastic article that was published in the first issue of Bonsai Today, written by Yonetami Toshihiro, which has more detail and examples. I am summarizing the basics for your convenience.
Step 1: Determine which branches need to be wired before you start. Group them by the thickness of wire that will be required to shape the branch starting with the thickest to the thinnest. To determine the thickness of wire that is required to shape a branch, here is a simple test. Take the wire that you think is appropriate to shape your branch. Straighten out about two inches of wire. Place the end of the wire above the branch so that about one inch of the wire passes the branch and press down. If the branch bends, then the wire is thick enough. If the wire bends, you will need a thicker wire — or you can double the same wire and try the test again.
Step 2: The beginning winds of wire need to be anchored securely before you attempt to wind the wire around your target branch. You can do this by winding the wire around the trunk or by wiring two branches of the same thickness using the same wire. If you use the same wire on two branches, as an anchor you will need to circle the trunk at least one time for stability. If not, when you try to shape one branch the wire will move the other branch and can damage the cambium layer or even break the branch.
Step 3: To begin wiring, use your thumb to secure the wire to the space where a spiral is going to begin. The distance between spirals should be the same and the angle of inclination 45 degrees. Remember to bring the wire fully around the branch at each hold point. In some cases if you are using thick wire, you might consider using pliers to keep the wire secure. This will prevent the wire from scraping off or tearing the cambium layer, resulting in unsightly scares. Visually try to keep the thickness of a piece of paper between the wire and the branch. Growth habits of the tree’s species and of the season should also be considered so that the branch has room to grow without having the wire cut into the branch. Do not try to bend the branch to the desired form while in the process of wiring; wait until the wire is applied and then bend the branch by bending the wire.
Step 4: On some branches you may need to start with a thicker wire, but out toward the end of the branch you will need to transition to a thinner wire. Start the thinner wire about 2 inches before the end of the thicker wire as an anchor following the same angle of inclination.
Step 5: You will need to study your wiring plan to eliminate crossing wires. As a general rule, use this list for proper shaping of branches. To get your bearings, have the branch coming towards you.
If you need to bend a branch down, the first wrap of the wire must come over the top of the branch.
If you need to bend a branch up, the first wrap of the wire must come from under the branch.
If you need to bend a branch to the right, the first wrap of the wire must be wound clock wise.
If you need to bend a branch to the left, the first wrap of the wire must be wound counter clock wise.
As I mentioned, this is only the basics of proper wiring, but it covers most scenarios. Always consider the cosmetics of your effort by considering the material you are wiring and the seasons. Using raffia or other twine to prevent damage to the branch might be required. And most important, regularly inspect each branch that you have wired to be sure you remove the wire before it cuts into the branch’s bark. Do not take a chance of ruining a perfectly good bonsai tree by taking the advice of experts on general rules for how long you should leave wire on a branch. The only way you can determine when wire should be removed is to visually examine your wired branches.
